First up, my supplies list:
Poster board
Flower print out
Leaves print out
Clear contact paper (to "laminate" everything)
Markers
Kaper labels
Good turn labels
Clothes pins
Wooden dowel
Hot glue
Duct tape
Flower pot
Rocks (to use as a weight)
Green Easter grass
If you don't have anything of those, here's about how much you might spend:
Poster board, $1 for 2 at the Dollar Tree
Clear contact paper, $5 for 1 roll (you won't even put a dent in it!)
Clothes pins, $1.97 for a pack of 50 at Walmart (you'll have extras)
Wooden dowel, depends on where you go (I think my husband paid $2-$3 for a piece of scrap and didn't use it all)
Flower pot, depends on what you get (the one I got cost $4 a few years ago)
Easter grass, 48 cents per bag at Target (I bought 3 bags, but did not use all 3)
The rest would be miscellaneous items and can really vary in price. However, at least now you have an idea on what it could cost if you need everything. Plus, the extras you can use for other stuff. I bought a fresh roll of contact paper back in August and I've just recently started to make a dent in it (I laminate so many things with it!).
And now, the how to.....
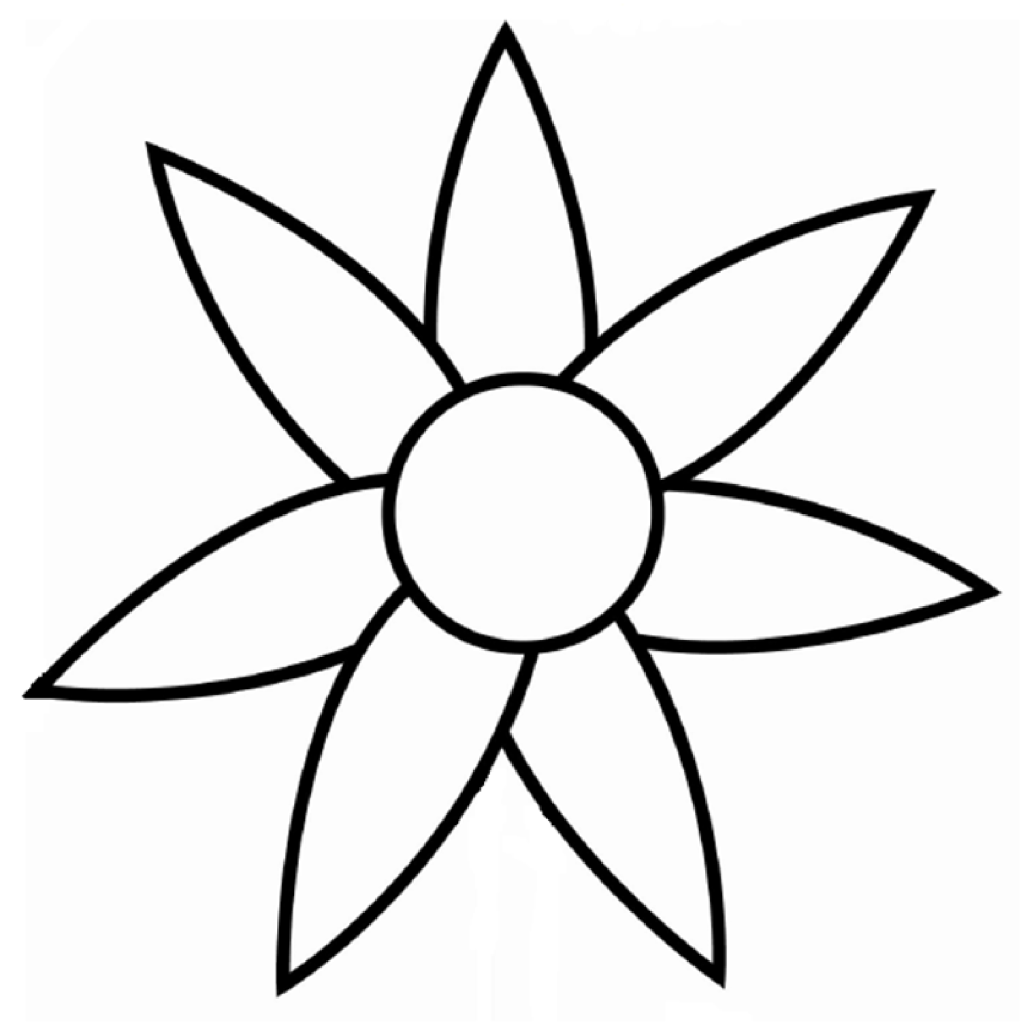
1. Trace or print out your flower. The one I used has 7 petals, and printed it out over two and a half sheets of paper (if I did three, it would not have fit on the poster board), then glued it to my poster board.
My flower outline:
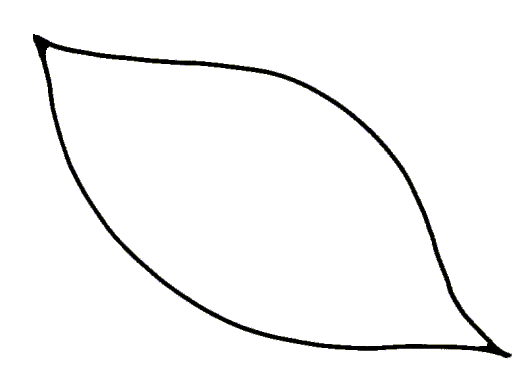
2. Do the same thing for your leaves. Since my flower did not take up 100% of the poster, I had leftover room for my leaves.
My leaves outline:
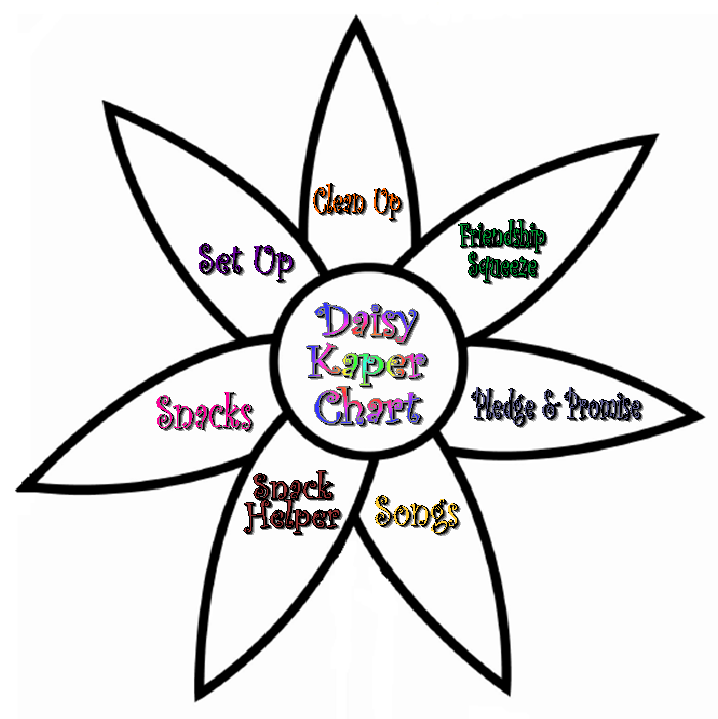
3. Color and label your chart (or you can print them out, like I did with my mini backup chart). I tried to match mine closely to the Daisy petals. I colored my leaves green and light green to cover those two colors, and used the remaining eight colors on my petals and center. Obviously, royal blue (the "real" center) was left out, but that I covered later on with my dowel by coloring it blue.
My backup kaper chart (which conveniently fits in my folder):
4. Cut everything out. To laminate it, simply measure it out over your contact paper. If yours is the same size as mine, it should fit perfectly (you'll have to do a little twisting and turning, but it will fit. If it doesn't, later on you can use scraps to cover any small spots). Cut out your 2 pieces (one front, one back). Carefully remove the back and lay it flat so you can put your flower on it. I recommend putting the backside down first- the back doesn't have to be perfect, so this makes it easier to get the front looking good. Repeat the process for the front side, but when you lay your top layer down, be careful as you lay it to avoid air bubbles (but those can easily be smoothed out later). Once it is laminated, you'll need to cut off the excess. Do not cut right up to your leaf, leave a little excess laminate to keep it "sealed." Repeat this for your leaves.
5. Once you have your flowers and leaves done, you'll want to glue or tape them to your dowel. I did both. I hot glued them, and reinforced them on their backsides with some duct tape. Do not be afraid of the duct tape, it is your friend. As for affixing the dowel to your pot, that depends on the type of materials your dowel and pot are (wood, plastic, terra cotta, ect.). I had a wooden dowel and plastic pot. I hot glued the dowel to the pot, put excess glue around the base when the initial glued had hardened, and then reinforced that with more duct tape.
6. For the pot, you'll want to put something at the bottom to keep it weighted. I used rocks. I laid them in the bottom and put a loose layer of hot glue, just to keep them in place. I topped that with my Easter grass to finish it off.

Ok, so maybe it is a little bulky, but it's fun! For Daisy aged scouts, something like this is easy for them to see and pay attention to. They'll always know to check it when they come in too. On my kaper chart, I have one of my leaves listed as "good turn." Each week, I can pin up our good turn for the week on it. That way, we'll never forget!
This is fantastic!! Seriously one of the best ones I've seen and so much fun!! My troop loves the one I made for them!
ReplyDelete